 |
| The finished product |
I also saw Boogle's comment that: "If there's much interest I can put up the source code and PCB files for the brave and the crazy but it won't be anywhere near as well put together as [the original warp core designer's] guide :("
Naïvely counting myself amongst "the brave and the crazy," and since I already had a correspondence running with Boogle (aka Dan) from my Stargate build, I wrote and asked if he'd share his Warp Core PCB (printed circuit board) and source code with me. He did! And then even more graciously, he cheerfully and patiently answered my dozens of questions over the months as I attempted to tweak his circuit board to be more novice-friendly (an attempt I later abandoned, but I learned a LOT along the way), and shared numerous other pointers to help in my struggles.
 |
| Early LED test with a spare Raspberry Pi |
For several months I on-again-off-again worked toward redesigning the PCB with these other chips, and finally in mid-summer, after MUCH hand-holding from Dan, finished that design. The experience was turned slightly anti-climactic while placing the order, because it was at this point I discovered the factory that made the circuit boards would also do some automated assembly/soldering for most of the chips, including the "novice-friendly" chips I'd used in the design. So as it turned out, I paid them money and they sent me almost-completed boards.
 |
| Completed ring section, fully lit! |
I excitedly awaited the arrival of my circuit boards from China, and timed a summer vacation from work to coincide with when the boards would arrive, knowing I would still need to solder the micro USB connectors onto the boards (those weren't available as part of the factory assembly service), and then thinking I'd be able to completely finish assembling the warp core that same week.
 |
| The magic smoke escaped (and left scorch marks) |
Spoiler alert: this went, shall we say, "poorly."
After several days of effort, I'd ruined/ripped/burnt the pads on several circuit boards, ruined 6 or 7 USB connectors, and then after I thought I'd finally soldered the ports correctly, I plugged it in, heard a sizzling sound, and cried as I watched the magic smoke escape (fortunately no fire extinguishers were required).
It was at this point I decided to salvage the remainder of my vacation by taking a break from the warp core for a while. Though, I would be remiss if I didn't also say there was one good thing that came from all the soldering failure, and that was that I got to spend a lot of hours hanging out with my parents, which was truly wonderful.
Around this time Alissa asked me a question that I still think about: do I want my hobbies to be challenging and frustrating? I really had to stop and ponder. My eventual answer was that I do enjoy challenges... that are within my ability to learn and achieve. The Stargate project helped me learn more about electronics than I’d known since 9th grade electronics class, and this warp core project continued that learning. And in documenting my build process my hope is to pass some of that along so that the next “me” looks at this warp core project and says “yeah, I can learn how to do this.” (for instance, I know at least two people have built Stargates based on my directions I published)
 |
| Partial assembly |
Now that I've reached the end, I can definitively say the warp core was both challenging AND frustrating, but that I view it as yet another step in preparation for future projects, like the aforementioned Stargate Atlantis, but also my hopes of perhaps designing a Quantum Link handlink prop (something I've wanted since childhood), and my eventual goal of building a club-spec R2-D2. I think I might have too many hobbies, but the benefit of that is that when one gets a little too frustrating, I can just pause for a little bit and hop to a different hobby to relax (like painting).
When I eventually came back to the warp core, I'd discovered that I could purchase pre-soldered micro USB boards for only $1.50 a piece. So I did that. I also discovered that the circuit board assembly service could solder the more expensive/faster/better/harder-to-solder chip that Dan had used in his original design, so my entire venture into redesigning the board was basically moot (except for the learning along the way). I went ahead and un-redesigned my PCB back to Dan's original version, except with easily-solderable headers that could connect to these pre-soldered USB boards, and placed an order. I'm sometimes a Scrooge when it comes to spending my personal allowance money, and so I briefly considered just ordering the parts and not paying for the assembly service (which is somewhat pricy), but with Alissa's reminder of "how much is your time worth?", it was an easier decision to pony up the extra cost to have the boards pre-soldered as much as possible.
Short story short: soldering the new boards went easily and uneventfully.
 |
| Partial assembly |
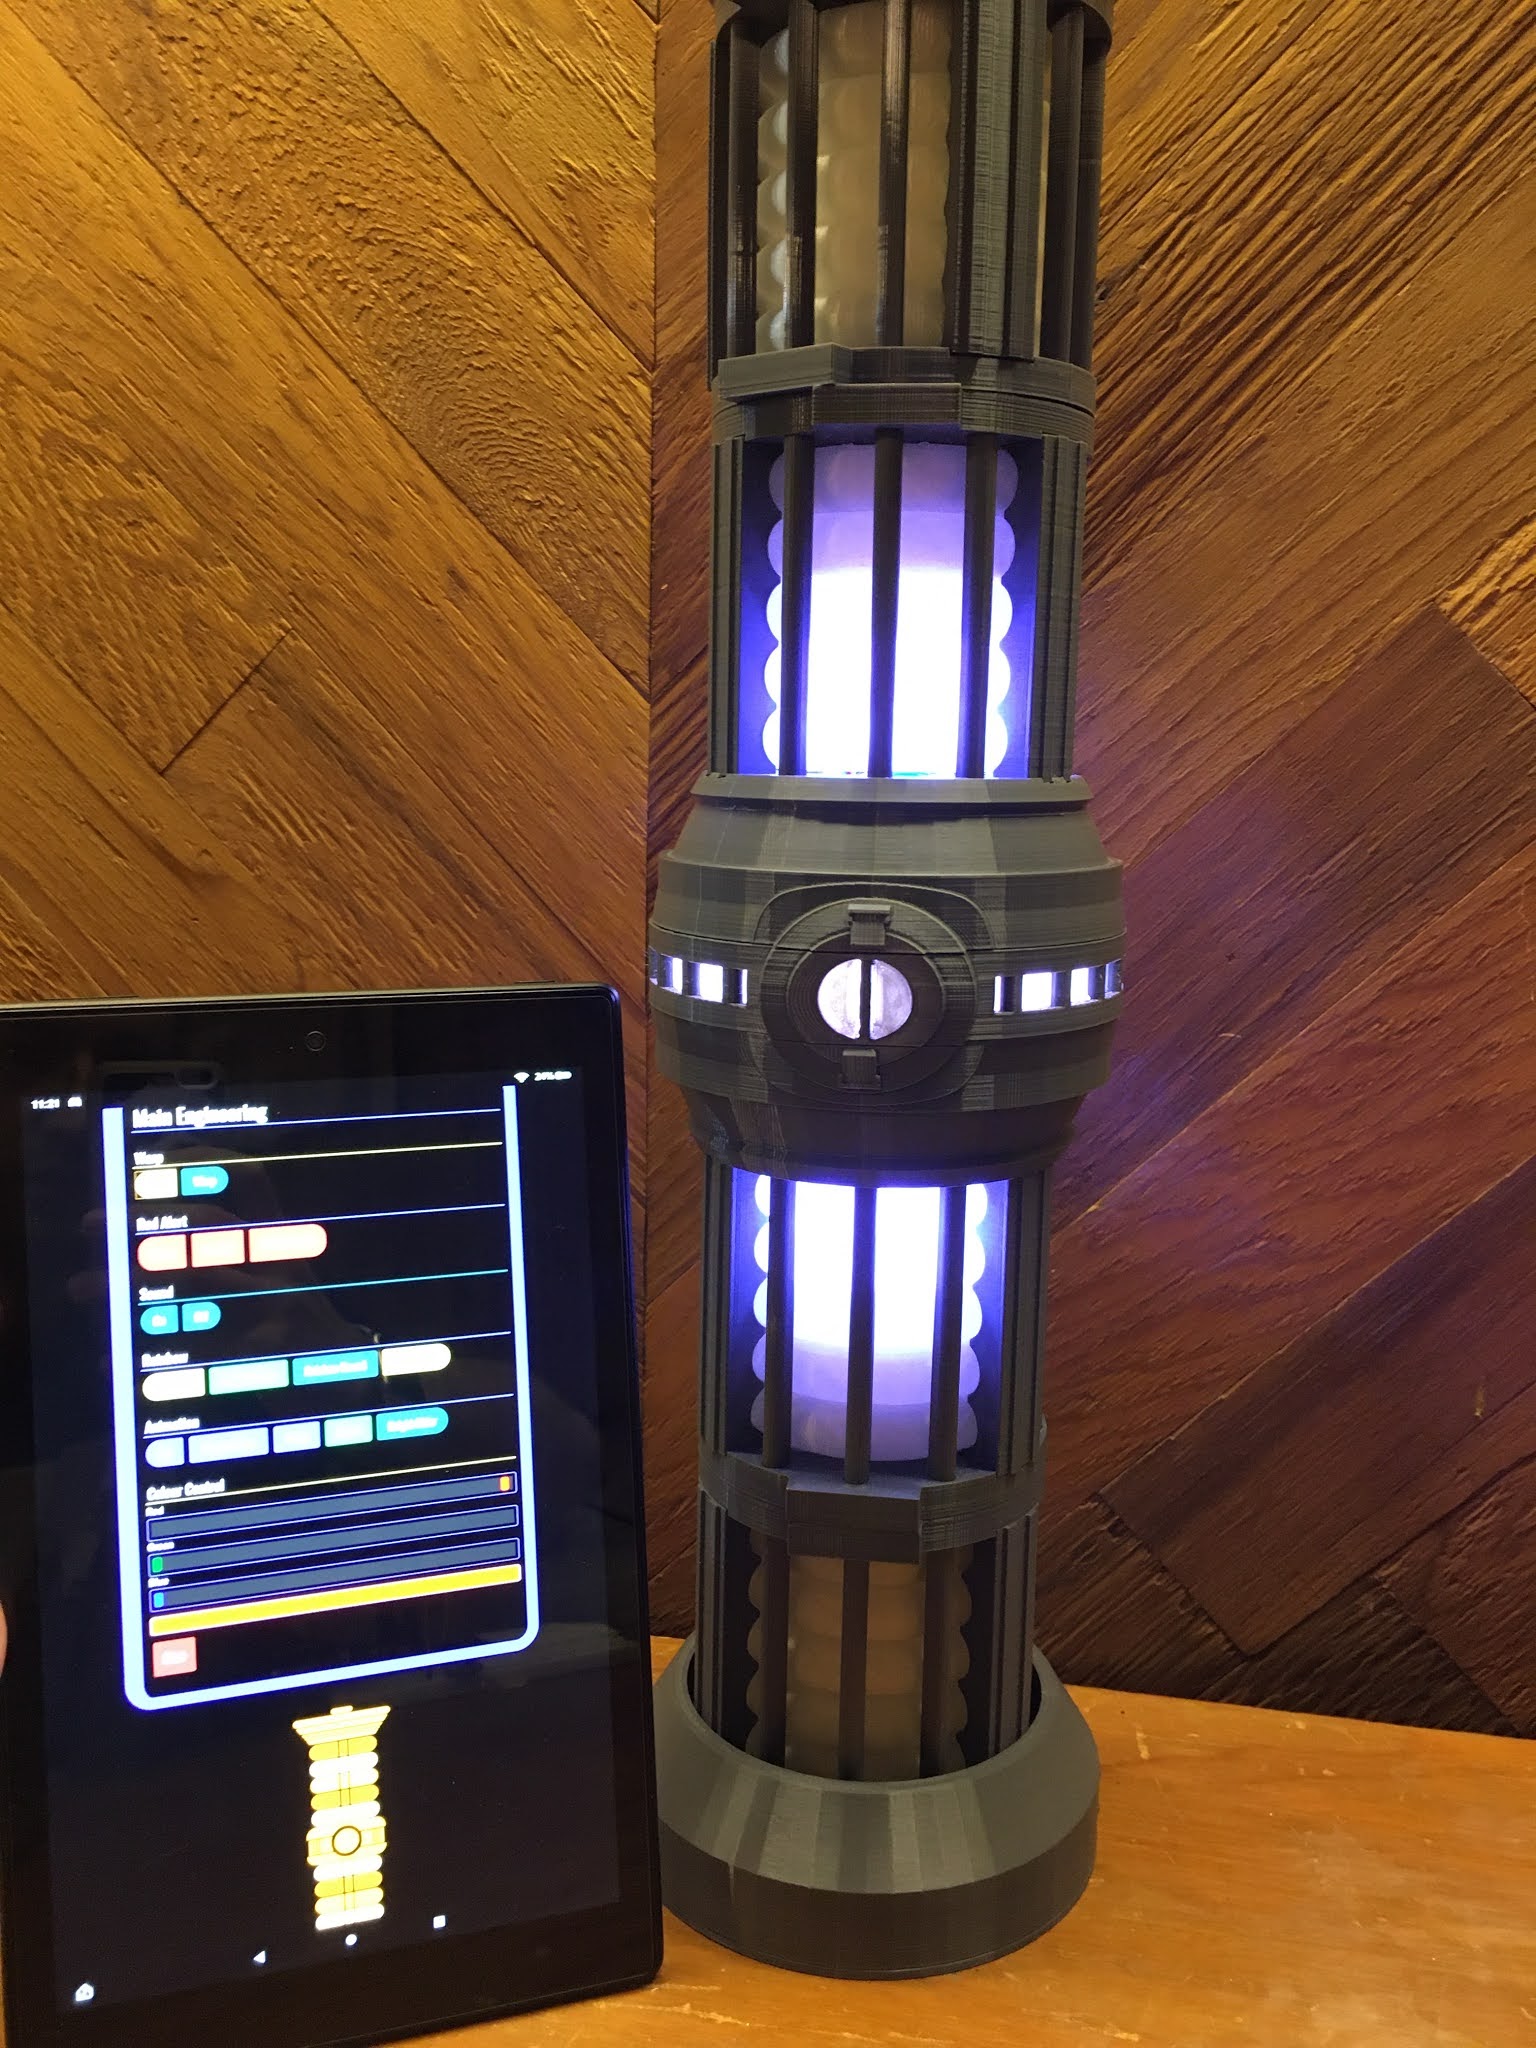 |
| Finished warp core! |
Late at night on Friday, November 27th, I jokingly (and proudly) posted on Facebook that "Alissa's Thanksgiving wish came true, she'll finally stop having to listen to me talk about "warp core this" and "warp core that". Aka, the warp core is finished!"
In case it wasn't clear, let me be abundantly clear that I owe so many thanks to Dan for sharing his design and answering my innumerable questions and cheering me on along the way; to my parents for also cheering me on along the way and my Dad especially for letting me take over his electronics bench for almost a week; and of course to Alissa for putting up with my constant "warp core this" and "warp core that," and still loving me through it all.